Showing posts with label Massachusetts. Show all posts

Tuesday, October 18, 2016

One-Pie Pumpkin Pie, Revisited

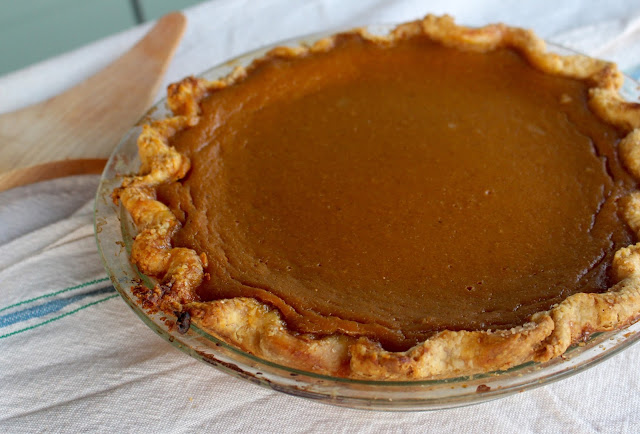
One-Pie Pumpkin Pie | Nothing in the House

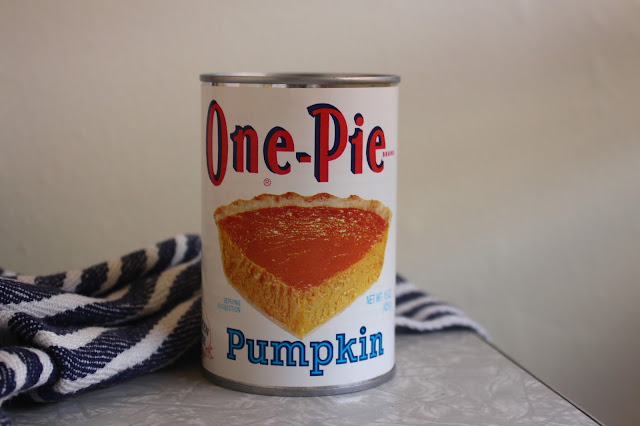
 I've advocated frequently on this blog for baking with fresh squash rather than pumpkin in "pumpkin" pie. I've also unabashedly supported the use of canned pumpkin (er, squash?) in the absence of fresh squash, excess time, or just because. And in 2009, I declared my favorite canned pumpkin-- One-Pie. I still stand by all of those statements.

One-Pie Pumpkin can | Nothing in the House

I was recently in Cape Cod, where I spent a lovely week with a house full of friends, biking to the beach, kayaking the salt marshes, lounging on blankets in the grass, and coming together for lively nightly dinners at a long, candle-lit and wine-lined table. I baked a few different desserts with One-Pie while I was there-- a Pumpkin Custard Cake for my friend Sadie's 32nd birthday, and two Drunken Pumpkin Pies, requested by Magpie, age 7, with assistance from her and her brother Matthias, age 3. But I was keen on revisiting the One-Pie back-of-the-can "New England Pumpkin Pie" recipe, so I smuggled out another can in my suitcase.
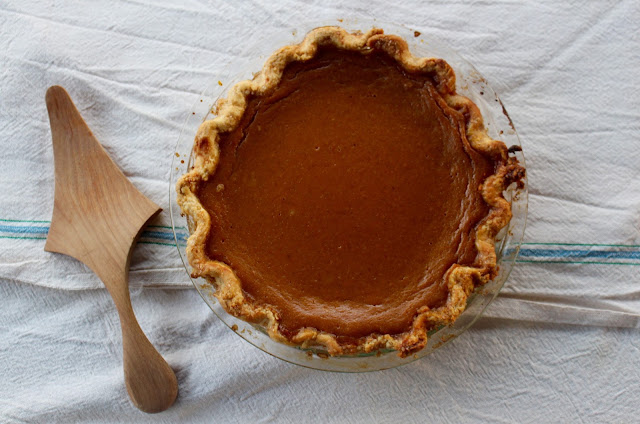
One-Pie New England Pumpkin Pie | Nothing in the House

I will say that as far as pumpkin pie goes, I don't think you can beat the Drunken Pumpkin Bourbon Pie recipe. It's so rich, spicy, and molasses-filled it borders on savory, and of the course the bourbon ups the ante, knocking the rather bland standard pumpkin pie recipes off the dessert table. However. If you are looking for that classic pumpkin pie flavor, One-Pie's New England Pumpkin Pie recipe is the way to go. Personally, I'd reduce the sugar by a fourth cup and substitute in brown sugar for white, but I included the original recipe below for the traditionalists out there. Apparently there are many of you-- the 2009 One-Pie post is one of the most popular on Nothing in the House.

One-Pie New England Pumpkin Pie | Nothing in the House

One-Pie New England Pumpkin Pie
From the back of the One-Pie Pumpkin can

Ingredients
Nothing in the House pie crust, halved
1 can One-Pie pumpkin
1 Tablespoon cornstarch
1/2 teaspoon cinnamon
1/2 teaspoon ginger
1/2 teaspoon nutmeg
1/2 teaspoon salt (scant)
1 1/2 Tablespoon unsalted butter, melted
1 1/2 cups milk or 1 12-ounce can evaporated milk
1 cup sugar (I recommend reducing this to 3/4 cup and substituting brown sugar)
1/8 cup molasses
2 large eggs, beaten

Directions
1. For the crust: Prepare half of Nothing in the House pie crust as per the directions, reserving the leftover egg for an egg wash and saving other half of the recipe in the freezer for a future pie. Chill dough at least one hour before rolling and fitting into a greased and floured 9-inch pie pan. Wrap with plastic wrap and place in fridge until ready to use. 

2. For the filling: Sift sugar, cornstarch, salt, cinnamon, ginger, and nutmeg together. Mix this with contents of one can One-Pie Pumpkin. Add eggs, beaten, melted butter, molasses, and milk. Add a dash of lemon juice (if desired). 

3. Line a 9-inch pie plate (you've already lined this with the crust), pour in contents. Preheat oven and bake at 450 degrees F for 15 minutes. Then reduce temperature to 350 degrees F and continue to bake for 50 minutes. Enjoy!

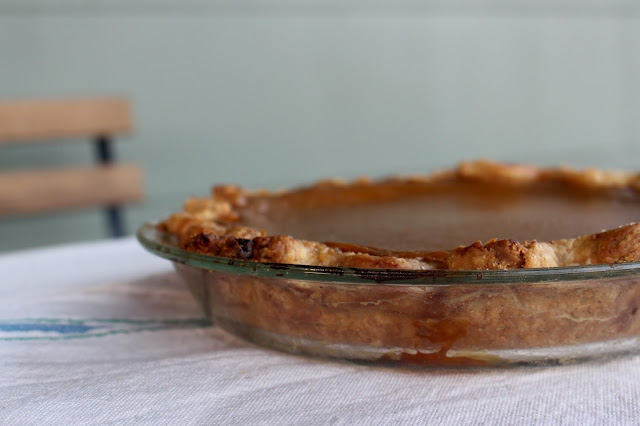
One-Pie New England Pumpkin Pie | Nothing in the House

P.S. I talk a little more about using canned pumpkin/squash in a recent episode of the Inside Appalachia podcast. Listen here!

Related recipes:
Delicata Squash Pie
Drunken Pumpkin Bourbon Pie with Mascarpone Cream
Pecan Pumpkin Pie
Pumpkin & Chai Spice Nut Butter Pie
Pumpkin Ginger Cheesecake Pie
Pumpkin Whoopie Pies

Monday, March 24, 2014

Johnisha's Pistachio Blood Orange Tart

Johnisha's Pistachio Blood Orange Tart

I had the luck of meeting Johnisha Levi at the LongHouse Scholars Program last summer. Johnisha is a lawyer-turned-pastry chef and her beautiful writing--from a hilarious ode to our Kitchen Aid toaster in the form of a "Rollercoaster of Love" parody to a thoughtful musing on kitchen gadgets and the loss of the tactile experience of cooking--would often bring the other scholars and the rest of the staff to tears and fits of laughter when she read aloud in our living room workshop sessions. She's worked for America's Test Kitchen and now is the Assistant Editor with The Weiser Kitchen. I'm very excited to share some of Johnisha's writing and recipe for these Pistachio Blood Orange Tarts, which just might provide sufficient succor for this (hopefully) last bout of snow we're due to get. You can follow more of Johnisha's work at The Weiser Kitchen and at @johnishalev.

I think I speak for everyone, from Atlanta to Boston, when I say that this winter, we’re all a little snow fatigued. (And yes, it is technically spring, but I’m not so sure that winter is done with us although we are more than done with winter.) On unforgivingly frigid days filled with rounds of snow shoveling (and without the benefit of stay-at-home snow days in New England), I can think of nothing more cheering to eat than a blood orange—its mottled skin concealing pulp the color of a deep crimson sunset. The striking hue of a blood orange is due to anthocyanins, antioxidant pigments that accumulate in response to plunging nighttime temperatures in growing regions of the Mediterranean. So I guess some good things can come of the cold . . .

The last few months, I’ve noticed chefs in Boston using blood oranges in every course from starters to desserts, as well as mixologists employing blood orange liqueur and syrups in the craftiest of cocktails. A salad combination of blood oranges and pistachio got me thinking about a way to bring these ingredients together in pastry.

I started with a pistachio pate sucrée, my adaptation of a go-to tart dough recipe. (The original Pierre Hermé recipe uses almond meal, but pistachios have always been my favorite, so I tweaked the recipe accordingly.) Blood orange curd folded into a stabilized whipped cream makes for a just-firm-enough-to-slice yet creamy tart filling. I add the orange zest before cooking the curd because it gives the curd a more robust flavor and a slight bitterness that I enjoy, but I prefer to strain it out for a silkier end texture.

To further tie together the components and to create some color contrast, I add some sliced blood oranges and a sprinkling of pistachio meal on top of the filling as garnish. Because the flesh of blood oranges is so stunning, I carefully shave away the skin and the pith, and slice crosswise to create wagon wheels spaced slightly apart. This allows the pale orange tart filling to peek through. If you like, you could instead buy additional blood oranges to cover the entire surface with blood orange suprêmes.

A word on tart size. I prefer to use a 7-inch tart pan because it is perfect in a two-party household that consumes rich desserts in petite portions, but feel free to adjust the recipe for a 9-inch tart.  The crust recipe below makes more than enough tart dough for a larger dessert. Just scale the curd and stabilized cream recipes up accordingly—a 1.5 recipe should work nicely with perhaps a little left over to lick the spoon. 

Blood Orange Supremes on Pistachio Custard


Pistachio Blood Orange Tart

Crust adapted from Desserts by Pierre Herme’ // Blood Orange Cream Filling adapted from Chez Panisse Desserts by Lindsey Shere and The Pie and Pastry Bible by Rose Levy Beranbaum


Ingredients
For the crust:
(Note:  This recipe makes enough dough for 3 to 4, 7-inch tart shells. To get the best result, make the full recipe and freeze the rest of the dough for future tarts. Or make more than one tart at a time.)

10 ounces unsalted butter, room temperature
1 ½ cups (6 ounces) confectioner’s sugar, sifted
¾ cup pistachio meal
½ teaspoon salt
½ teaspoon vanilla extract
2 large eggs, room temperature
3 ¼ cups (16.25 ounces) all-purpose flour

For the blood orange cream tart filling and garnish:
7 strained tablespoons of blood orange juice (from 2 blood oranges)
1 tablespoon lemon juice
Zest from 2 blood oranges
1 large egg
4 large egg yolks
6 tablespoons unsalted butter, cut into small cubes
1 teaspoon powdered gelatin
1 tablespoon cold water
½ cup chilled heavy cream
2 teaspoons powdered sugar
2 ounces melted white chocolate (optional)

For  garnish:
2 blood oranges  
pistachio meal or finely chopped pistachios

Directions
To make the crust:
1) In a food processor, pulse the butter until it is creamy, light in color, and free of lumps. Pulse in the sugar and salt until thoroughly blended. Next, pulse in the pistachio meal, followed by the eggs with the vanilla, ensuring that all ingredients are uniformly incorporated before proceeding. Add the flour last, processing just until the dough begins to come together in a ball. Divide into 3 to 4 portions, flatten into disks, wrap in plastic wrap, and refrigerate to harden before rolling. You can also freeze this dough until ready to use. Just allow 30 to 45 minutes to bring to room temperature. (Note: You can make this dough in a stand mixer instead, making sure to keep the mixture on the lowest speed for the very last step when you incorporate the flour, so as not to overwork the dough and toughen it).

2) Because this dough is very delicate, I recommend rolling it out between sheets of plastic wrap. That way, you have to use minimal  flour (thereby avoiding toughening it) and you can more easily transfer it in order to line the tart shell. If the dough splits while you are lining the tart shell, no need to fear—just press it back together.  Once the tart shell is lined, freeze the dough before baking. This helps it hold its shape.

3) Preheat the oven to 350 degrees F. Line the tart pan with foil, carefully pressing it into the corners of the tart pan before filling it with rice, beans, or pie weights. Bake for 16 to 18 minutes, until the crust is set and lightly colored. Remove the foil and pie weights, and bake for another 8 to 10 minutes until the crust is slightly golden around the edges. Transfer the pie shell to a wire rack to cool completely before removing from the tart shell and filling. (Note: the time I provide is for baking the shell straight from the freezer).

To make the blood orange cream:
1) In a non-reactive saucepan, combine the egg, yolks, and sugar, and whisk to combine. Next, add the blood orange juice, lemon juice,  and zest to the saucepan and whisk to combine. Last, add the butter to the saucepan. Over low heat, stir continuously until the mixture is thick enough to coat the back of the spoon and it reaches 180 degrees F. Do not let the mixture boil. If you notice any steam starting to rise from the pan, briefly remove it from the heat while continuing to stir. Immediately strain into a heatproof bowl, cover the surface with plastic wrap, and refrigerate until completely cool.

2) When the curd is completely cooled, make the stabilized whipped cream. In a small heatproof container, sprinkle the gelatin over the surface of the cold water. Allow the gelatin to sit, or bloom, for five minutes. Heat the gelatin and water over a water bath, or carefully within a microwave, until the gelatin granules are completely dissolved. Set aside.

3) In the bowl of a stand mixer, combine the chilled cream and powdered sugar. On medium speed, beat the cream with a whisk attachment until soft peaks form. Stop the mixture and check the gelatin. It should still be dissolved and slightly warm to the touch. If it isn’t, carefully reheat. While the cream is beating on medium low, quickly add the gelatin, whipping just to incorporate. (If you over whip, the cream will become grainy.). Fold the curd into the stabilized cream.

Note: If you find that the small volume of cream is difficult to whip in your stand mixer because the cream does not reach far enough up the bowl, you can either whip by hand, or double the recipe and then just use half of the resulting stabilized cream in the tart filling.

To assemble the tart:
 1) Using an offset spatula, smear the bottom of the shell with a thin layer of the melted white chocolate. (This is an optional step, and if using the white chocolate, the layer should be thin enough to see through so that it doesn’t become too challenging to break through the tart shell as you eat.) Fill the tart shell with the blood orange cream and refrigerate for at least 30 minutes before serving. When ready to serve, carefully remove the skin and pith from two blood oranges. Slice them crosswise to create wagon wheels to garnish the top of the tart as desired. You can glaze the fruit on top with apricot jammed thinned with water if you wish the fruit to appear fresh for more than a day. Finish with a dusting of chopped pistachios or pistachio meal. 

Pistachio Blood Orange Tart

Related recipes:

Photos, words and recipe by Johnisha Levi. Thank you, Johnisha!

Cranberry Chess Pie

Fig Pistachio Tarte Tatin

Peppermint Pattie Tart

Whiskey & Dark Chocolate Bundt Cake

Blog Archive